How To Repair a Torn Refrigerator Door Seal
Your refrigerator is one of the most important, most frequently used appliances in your kitchen. It keeps your food cool and fresh for your enjoyment. When there’s a problem with your fridge, it needs to be repaired right away to keep your food from spoiling and to save energy.
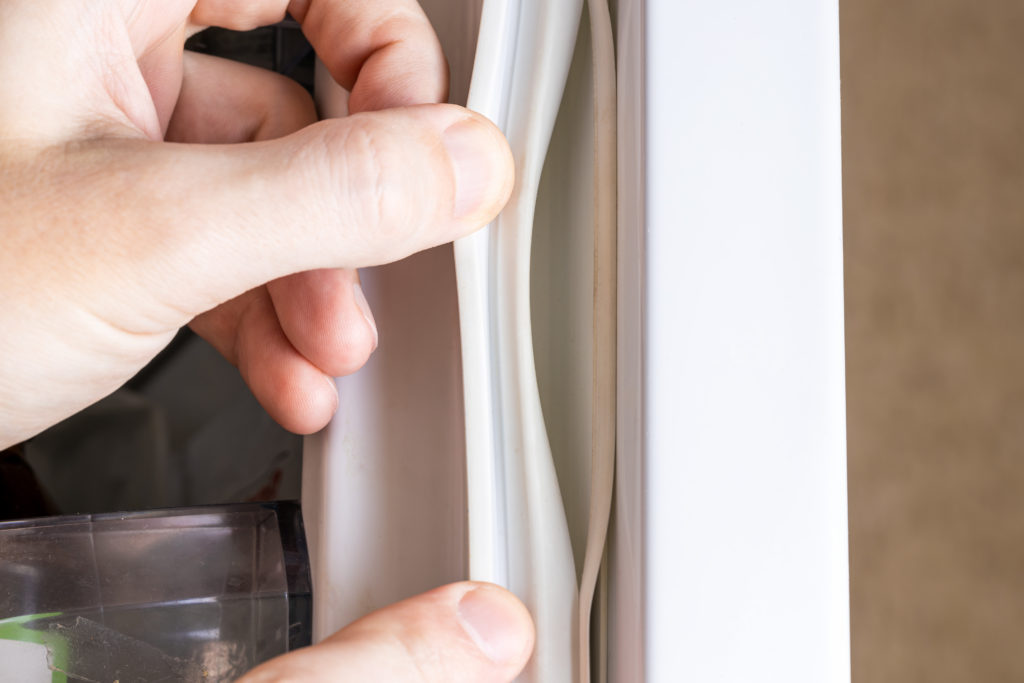
One of the most common problems with refrigerators is actually pretty easy to fix. The door seal, which is the rubber layer around the edge of the door, is often one of the first parts to wear out. The rubber gets dry and starts to crack, which means it can easily tear. This part is relatively inexpensive to replace.
You basically have two options: repair it, or replace it.
Repair Instructions
Here are the materials you’ll need and step by step instructions for how to repair your refrigerator door seal.
Materials: silicone sealant, wax paper
- Turn off your refrigerator. It will need to be off for at least 8 hours.
- Put any perishable food items in other refrigerators or coolers.
- Open the refrigerator door and locate the torn portion of the seal. Inspect the entire door seal for other cracks or tears.
- At the location of the tear, slide a strip of wax paper into the fold in the seal.
- Apply sealant to the tear.
- Apply another piece of wax paper to the front of the seal to act as a barrier between the refrigerator door and the frame when it closes.
- Repeat this at each torn location in your door seal.
- Close the refrigerator door and let it remain closed for at least 8 hours. This allows the sealant to dry.
- Once the sealant has dried and the tear is sufficiently repaired, remove the wax paper.
- Turn your refrigerator back on and restock your food items.
Replacement Instructions
If the repair doesn’t take or there are a significant number of tears or cracks in your refrigerator door seal, it may be in your best interest to replace it. Here are the materials needed and step by step instructions for replacing your refrigerator door seal.
Materials: New door seal, screw driver
- Soak the new door seal in warm water for 5 minutes so that it will stretch.
- Turn off your refrigerator. It will only need to be off for a few minutes, so your food can likely remain in place.
- Locate the screws holding the door seal in place and loosen them.
- Remove the old door seal from around the screws and discard.
- Remove the new door seal from the water and dry it off.
- Slide the new door seal under the metal edge in the door, starting at the top corner near the hinge. Stretch the seal as needed to help it fit.
- Once the seal is in place, tighten the screws and the process is complete.
Signs Your Refrigerator Door Seal Needs Repair or Replacement
Sometimes you won’t have an obvious tear in your refrigerator door seal, but you may notice some other signs that your door seal is not working effectively, such as:
- The food in your refrigerator is spoiling despite the fact that it is set at an ideal temperature.
- Your frost-free freezer is gaining a layer of frost on the inside.
- Your refrigerator is constantly running.
- Your energy bills are increasing.
The door seal prevents cold air from leaking out and warm air from leaking into your refrigerator. When it is not working properly, your refrigerator will operate less efficiently, resulting in higher energy bills.
DIY Not For You? Call America’s Appliance Repair
If you are not willing or able to replace your refrigerator door seal yourself, call America’s Appliance Repair. We can quickly and easily repair or replace your refrigerator door seal and ensure your refrigerator is operating properly. When you need fast, efficient Austin refrigerator repair, America’s Appliance Repair provides service in your area.
Call ☎ (512) 337-3246 or contact us today to schedule a service appointment. We look forward to providing you with reliable Austin refrigerator repair service.
Call America’s
Appliance rEPAIR Today!
No matter the appliance or brand, we provide prompt and reliable repair services across Central Texas
including: Austin, Round Rock, Killeen, Cedar Park, Leander, Liberty Hill, Copperas Cove,
Florence, Georgetown, Temple, and surrounding areas.